
This tutorial will show you how to a blend images to form a panorama.
With many digital programs now allowing for almost perfect and seamless panoramas, advanced software for HDR type images, none that I am aware of can stitch a perfect panorama combined with a well handheld HDR type result.
I am assuming that you have already read my page on basic image blending. This tutorial goes one step further and shows a combination of advanced blending techniques that are used to create such images.
When taking your picture, take two exposures. One for the sky and one for the ground. Make sure all settings are equal apart form the shutter speed. A tripod is a must.
My panoramic's are normally three horizontal images wide, so I repeat the above steps for each rotation that makes my panorama. So I will take six images.
The second, and most important factor when stitching your images, is that your chosen program must allow you to align the images exactly the same for both the under and over exposed sequence of images. Any misalignment will show when the two images are merged at a later stage. Auto pano pro allows you to do this, and is the program of my choice for making such images.
The method:
Process the sequence of files for both the sky and foreground in your raw converter, making sure all of the under exposed images are identical in processing, and the same applies for the over exposed images.
Proceed to stitch your images in auto pano pro, making sure that the output files are individual (though stitched) layers. One group of three images for the under exposed, one for the over exposed. The result should look similar to this.
At the top of cs4 / cs5 there is the option to `refine edge` select this, and `feather` the edges of your Lasso selection. The amount that you feather will depend on the intricacy of the area selected and the images themselves. There is no one solution other than trial and error.
When you have clicked ok on the `refine edge` tool, proceed to the `layer` menu on
the top controls in PS. Scroll down until you see the option `layer mask`, a side
menu pops out and select `reveal selection`. This will then reveal the area you have
selected with your Lasso tool. If the image blend does not look right, or needs refinement,
proceed back to the lasso stage and re-
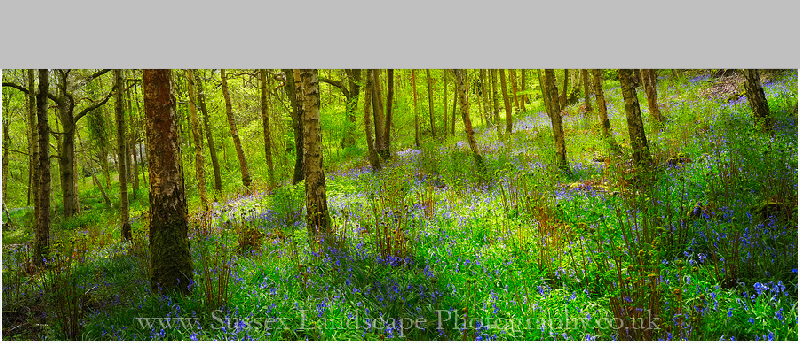
Once you are happy with the look of the blend, flatten your image. Then proceed to process the file as you would normally using adjustment layers. Below is the completed image, using five adjustment layers. Notice the black and white `masks`. These are drawn around selected areas, using the same principles as above, but for making refined local adjustments


